Pre-Installation Requirements
-
Environmental Verification
- Ambient Temperature: 0°C to +60°C (derate 1.5%/°C >55°C)
- Relative Humidity: 5-95% non-condensing
- Pollution Degree: PD2 per IEC 60664-1
-
Safety Preparation
Wear ESD wrist strap (1MΩ resistance)
️ De-energize entire AC 800M rack (Lockout-Tagout per NFPA 70E)
Verify firmware compatibility: ≥CBM 10.1 for redundant systems
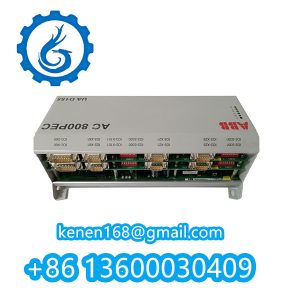
Mechanical Installation
Step 1: Baseplate Mounting
textCopy Code
1. Align module with DIN rail TS35 (IEC 60715)
2. Secure with spring clips (Force: 50N ±5N)
3. Ground chassis via PE terminal (M4 screw, 1.2 Nm torque)
Step 2: Module Insertion
textCopy Code
1. Release locking lever (rotate 90° counterclockwise)
2. Slide module into slot until backplane connectors engage
3. Lock lever (audible click verification)
4. Tighten retention screws: 0.6 Nm (5.3 lbf·in)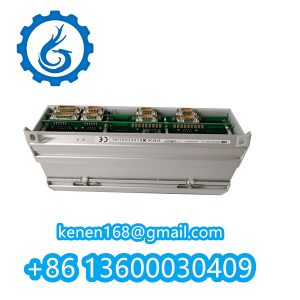
Electrical Connections
| Interface | Terminal | Specification |
|---|---|---|
| Power Supply | X1 (PWR1/PWR2) | 24V DC ±10% (5A min starting current) |
| SD Card | Front slot | Industrial-grade (Max 32GB FAT32) |
| Eth. Redundancy | ETH A/B ports | CAT6 SF/UTP (daisy-chain ≤100m) |
| Fieldbus | X2 (COM3) | PROFIBUS DP-V1 (Termination: ON at ends) |
Critical: Maintain ≥150mm clearance from high-frequency sources (VFDs/RF equipment)
Configuration Procedure
Step 1: Initialization
textCopy Code
1. Apply power → Observe LED status:

   • RUN (Green): Solid = Operational

   • ERR (Red): Blinking = Firmware mismatch
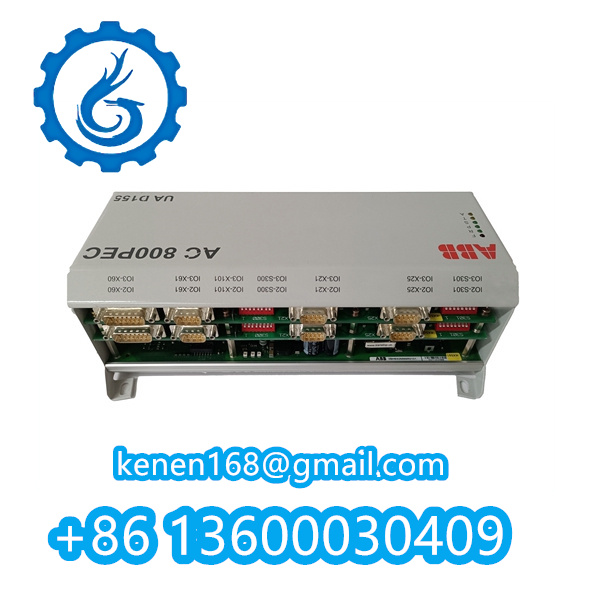
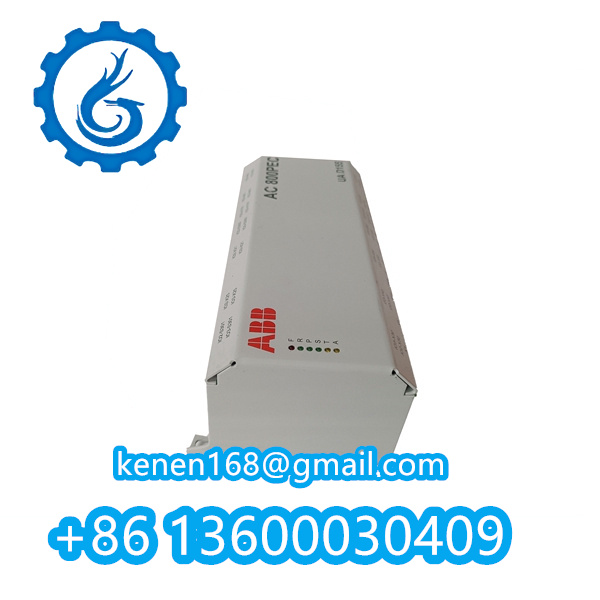
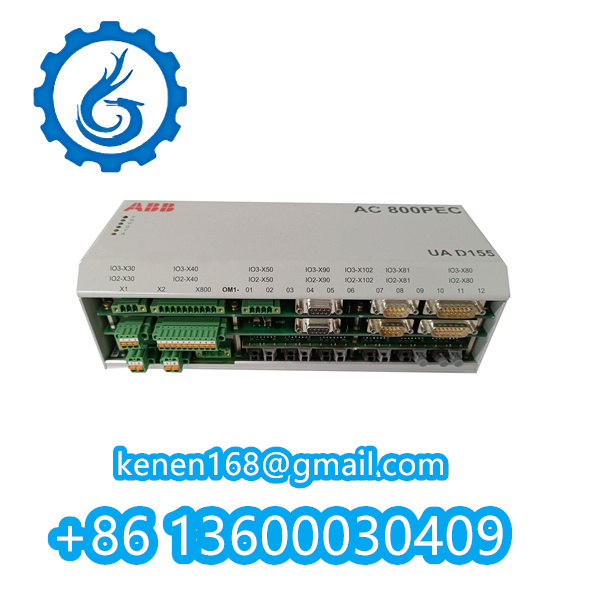
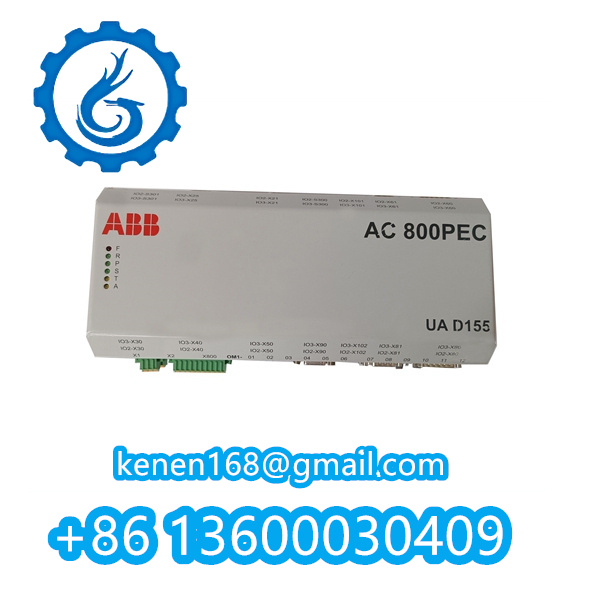
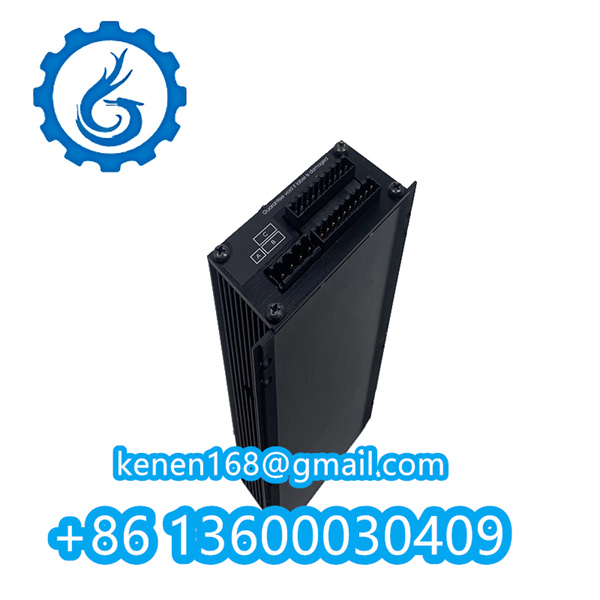
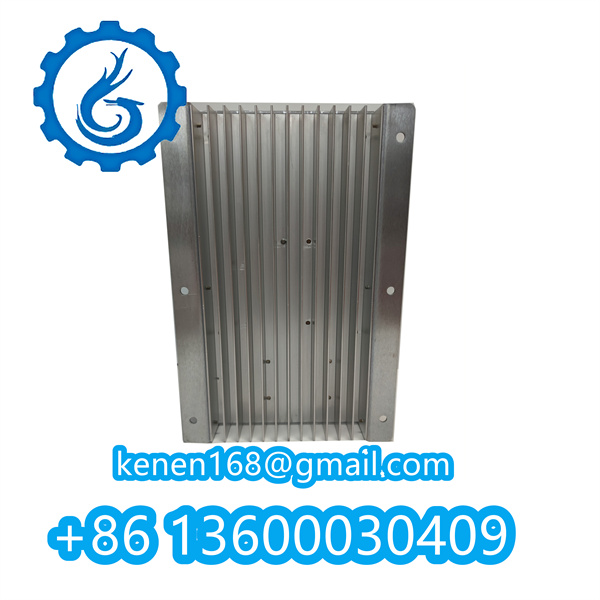
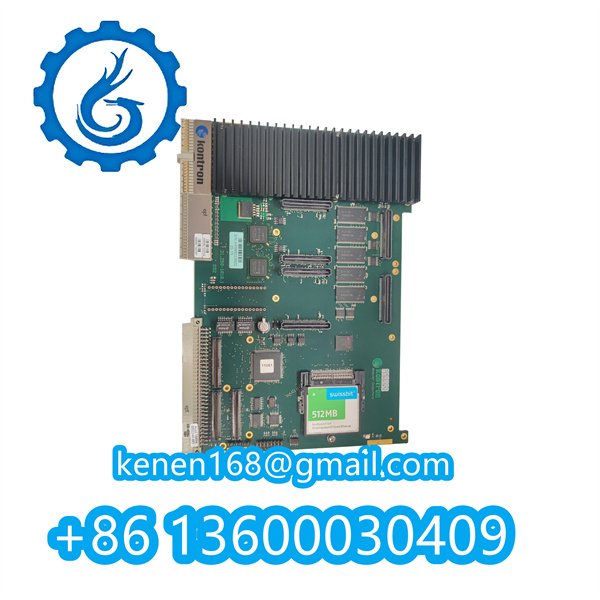
2. Insert prepared SD card (contains HW configuration)UAD155A0111 3BHE029110R0111 ABB PDF
···········································································································

















Reviews
Clear filtersThere are no reviews yet.