


1. Pre-Installation Preparation & Safety Checks
- Power Supply Confirmation: Verify that the on-site power supply matches the module’s rated voltage (230V for the reference GE model). Never connect the module to a voltage exceeding the rated range, as this may cause irreversible damage to internal circuits. Use a multimeter to test the power supply stability (e.g., voltage fluctuation should not exceed ±5% of the rated value) before wiring.
- Safety Isolation: Ensure the main power switch of the industrial control system is in the “OFF” position during installation. Wear insulated gloves and use insulated tools to prevent electric shock, especially when handling live components (if unavoidable for testing).
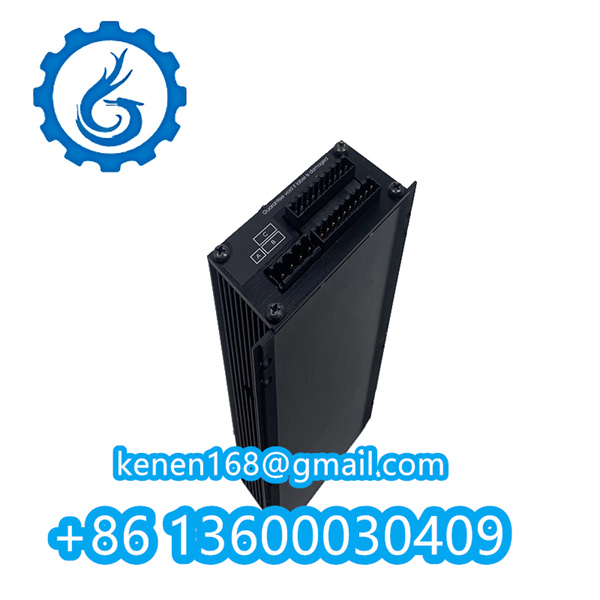
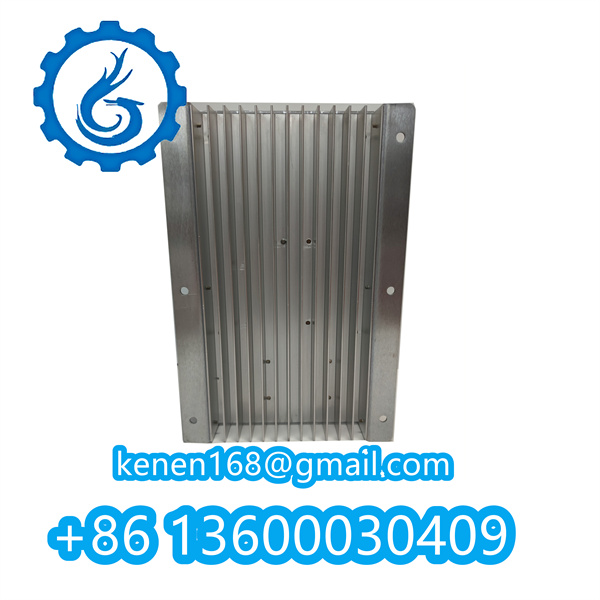
- Module Inspection: Check the module’s aluminum alloy housing for cracks, dents, or corrosion—damaged housing may reduce its resistance to harsh environments. Also, inspect the pins, wiring terminals, and RS-485 communication ports for bent, loose, or oxidized contacts; clean oxidized parts with a dry, lint-free cloth dipped in isopropyl alcohol if necessary.

2. Mounting Environment Requirements
- Temperature & Humidity Control: Install the module in an environment with a temperature range of -20°C to 60°C (typical for industrial analog modules) and relative humidity below 85% (non-condensing). Avoid mounting near heat sources (e.g., heaters, high-power resistors) or areas prone to water splashes, oil mist, or dust accumulation—use a sealed control cabinet with a cooling fan or dehumidifier if the environment is harsh.
- Vibration & Shock Avoidance: The module should be mounted on a stable, vibration-free surface (e.g., a reinforced control cabinet rack). Keep it away from equipment that generates strong vibrations (e.g., pumps, motors) to prevent loose wiring or internal component damage. Use shock-absorbing mounting brackets if necessary.
- Electromagnetic Interference (EMI) Protection: Since the module uses RS-485 communication, install it at least 1 meter away from high-voltage cables (e.g., 380V power cables) or electromagnetic sources (e.g., inverters, transformers). Use shielded cables for RS-485 communication and ground the shield layer properly (single-point grounding at the control cabinet end) to reduce signal interference.
3. Wiring Guidelines
- Power Wiring: Use copper wires with a cross-sectional area of 1.5–2.5 mm² for the 230V power connection. Ensure the “Live” (L) and “Neutral” (N) wires are correctly connected to the module’s terminals (refer to the product wiring diagram); reverse connection may cause short circuits. Tighten terminal screws with a torque wrench (torque: 0.8–1.2 N·m) to avoid poor contact due to loose wires.
- RS-485 Communication Wiring: Use twisted-pair shielded cables (e.g., CAT5e or CAT6) for RS-485 communication. Keep the cable length within 1200 meters (maximum distance for RS-485) to ensure stable data transmission. Connect the “A” (positive) and “B” (negative) terminals of the module to the corresponding terminals of the controller—do not reverse the polarity, as this will interrupt communication. Install a 120Ω termination resistor at both ends of the RS-485 bus (if the bus length exceeds 100 meters) to suppress signal reflection.
- Analog Input Wiring: For analog signal inputs (e.g., from sensors or transmitters), use shielded twisted-pair cables to minimize noise. Ensure the signal wires are separated from power cables (at least 30 cm apart) to avoid crosstalk. Confirm the input signal range (e.g., 4–20 mA, 0–10 V) matches the module’s specifications before wiring—incorrect signal types may damage the module’s input circuit.
4. Post-Installation Testing & Maintenance
- Power-On Test: After installation, turn on the power supply step by step: first power on the control cabinet, then the module. Observe the module’s indicator lights (if equipped)—a steady green light usually indicates normal power supply and communication; flashing or red lights may signal faults (refer to the product manual for fault codes).
- Function Verification: Use a signal generator to simulate analog input signals (e.g., 4 mA, 20 mA) and check if the module correctly transmits data to the controller via RS-485. Verify that the controller displays accurate signal values—if there is a deviation, recheck the wiring or calibrate the module (follow the manufacturer’s calibration procedure).
- Routine Inspection: After commissioning, conduct monthly visual inspections: check for loose terminals, abnormal heating of the module (surface temperature should not exceed 70°C), or damage to the housing. Clean the module and its surroundings regularly to remove dust, but avoid using water or corrosive cleaning agents.
AL129A ALSTOMA in stock pdf
······································································································
VIBRO-METER VM600 RPS6U PN200-582-500-013
Bently Nevada 3500/42 176449-02+128229-01
…………………………………………………………………………………………………………….

Reviews
Clear filtersThere are no reviews yet.