


_副本.jpg)


Operating Procedures for KEYSYS-RJ-16CH-AD (KEYSYS)
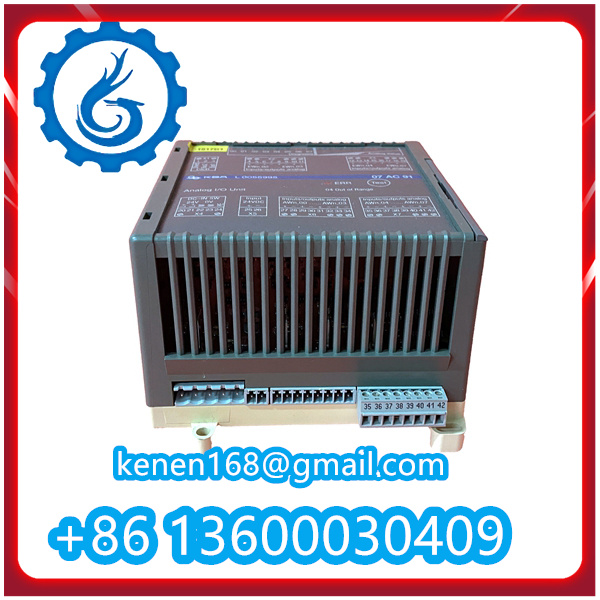
The KEYSYS-RJ-16CH-AD is a 16-channel analog input module designed for industrial signal acquisition. Below are its standard operating procedures:
1. Pre-Installation Preparation
- Confirm the module model (KEYSYS-RJ-16CH-AD) matches the system requirements and check for physical damage (e.g., cracked housing, loose pins) before unpacking.
- Prepare necessary tools: DIN rail cutter (if needed), screwdriver set, multimeter, and the module’s official technical manual.
- Ensure the industrial control cabinet’s power is completely turned off to avoid electrical hazards during installation.

2. Module Installation
- Mount the module on a standard DIN rail inside the control cabinet. Align the module’s rail clips with the DIN rail and push firmly until a “click” is heard (indicating secure attachment).
- Ensure there is at least 5cm of clearance between the module and adjacent devices to prevent overheating (comply with the manual’s thermal dissipation requirements).
3. Power and Communication Wiring
- Power Wiring: Connect the 24V DC power supply to the module’s power terminals (labeled “V+” and “GND”). Use a multimeter to verify the input voltage is within the 18-30V DC range before power-on.
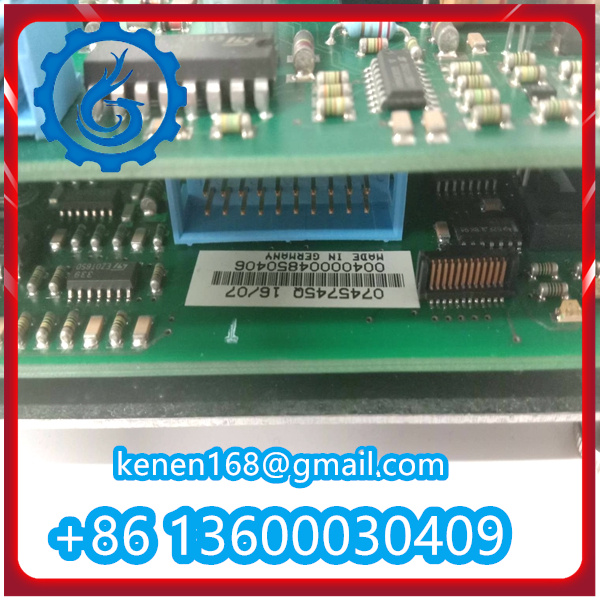
- Communication Wiring: Connect the RJ45 cable to the module’s RJ45 communication port. Link the other end to the host controller (e.g., PLC, DCS) or network switch. Confirm the communication protocol (e.g., Modbus RTU/ASCII) is pre-configured on the host to match the module’s default settings.
4. Analog Input Signal Wiring
- Identify the 16 analog input channels (labeled “CH1” to “CH16” on the module). For each channel:
- Current Signals (4-20mA/0-20mA): Connect the positive terminal of the sensor to the “AI+” pin of the channel, and the negative terminal to the “AI-” pin.
- Voltage Signals (0-5V/0-10V): Connect the sensor’s positive output to “AI+” and negative output to “AI-“; ensure no external current is applied to avoid damaging the voltage input circuit.
- Tighten terminal screws to a torque of 0.5-0.8 N·m (per manual specs) to prevent loose connections and signal interference.
·······································································································


Reviews
Clear filtersThere are no reviews yet.